The sheer power of Emu's three ESI samplers has endeared them to many home musicians on a budget. However, it can be tricky to get the most out of these machines, so here are some power‑user tips to help you.
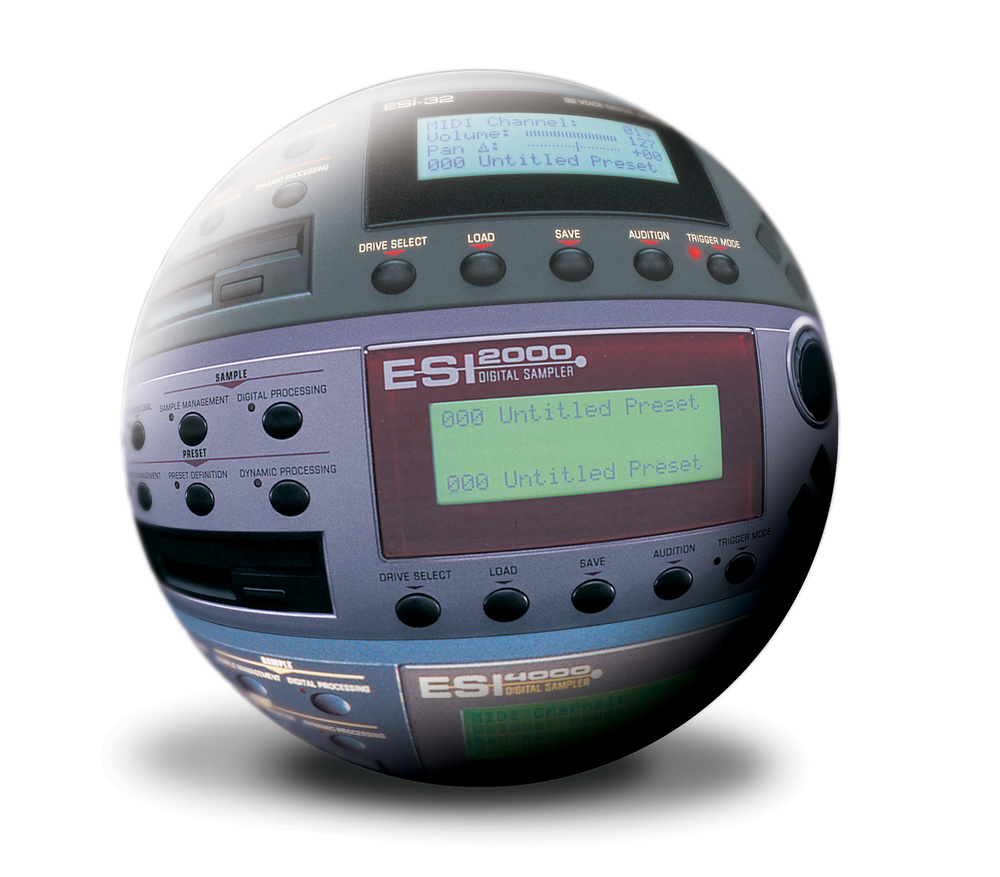
Emu's ESI series of samplers, which to date includes the ESI32 and the practically identical ESI4000 and ESI2000, are among the most popular budget samplers around. Even though they lack some of the features of more expensive instruments, such as extensive modulation possibilities and professional audio interfacing, the sound quality is superb. This is due primarily to the excellent filters and distortionless transposition. In this article, I will show you how to access useful features of more expensive instruments using your Mac or PC, as well as providing useful tips for those of you who think (justifiably) that desktop computers don't belong in the studio.
A Chip Off The Old Block
 The ESI samplers can transfer data to a computer over both MIDI and SCSI connections. However, to take advantage of this facility, you need to make sure you have a compatible software sample‑editing package.
The ESI series inherited many of the features which first appeared on the classic Emulator II keyboard, including its modular programming system — it's a credit to the designers of the Emulator that their system is still in use today. The eight buttons on the front panel group all the functions into menus, or Modules in Emu‑speak. Unlike the Emulator II, the ESI doesn't have enough space on the front panel to list every Module function. The ESI has all it's functions hidden behind the buttons, so my first time‑saving tip is this: always have the manual's Menu Map page handy (it's in the appendix), as this lists all the Module functions with their respective menu‑position numbers. That way you can quickly call up the relevant menu option using the numeric keypad.
When it comes to getting samples into the ESI, it's worth bearing in mind that, while the analogue inputs of the ESI series aren't bad‑sounding, they are superseded by many modern computer soundcards. The biggest problem is that they can be noisy at high gain settings — some users have complained that SCSI and MIDI noise are picked up too. In addition, there's a DC offset on everything you record. This can cause annoying clicks when playing back samples, as well problems with headroom, since the waveform is pushed closer to peak level without actually being 'louder'. What's more, the built‑in DC offset correction function doesn't always remove the offset properly — some samples can end up distorted for no apparent reason.
As a result, I find it better to sample using a computer soundcard and a sample editing package — see the 'Recommended Computer Software' box for some of my personal favourites. The best strategy here is to record at the highest bit depth available, and then to dither edited and normalised samples to 16‑bit resolution before exporting them to the sampler. SCSI is the most convenient option for transferring samples to the ESI — MIDI sample dumps are an option, but they are painfully slow and don't support stereo samples — so get a SCSI card for your computer if you don't already have one.
Processing & Effects
 Each of the ESI's eight Modules contains several menus, so it's a wise move to keep a copy of the manual's Menu Map to hand.
Though the ESIs have very good sample processing, some of the algorithms take a long time to do their job. This is particularly the case with the Transform Multiplication, so you'll be glad to know that you can get similar results by simply vocoding one sample with the other. The advantage with this approach is that you can hear the results in real time, and you have complete control over the pitch of each sample — a vital factor in getting usable results, since you're playing around with the harmonic content. Put the source samples in a new program, place them respectively in primary and secondary layers and pan hard left and right for routing to the vocoder's modulator and carrier inputs. As usual with vocoders, you will probably need to equalise and perhaps also compress the source audio to get the best result.
Resampling a sound down to a very low sample rate and then resampling back up to 44.1kHz or 48kHz is a quick and easy way of making interesting sounds. That said, the ESI has a rather good conversion algorithm, so it doesn't add much distortion — you'll probably get a more obvious effect with a cheap computer‑based editor. Try resampling to gradually lower rates to introduce even more distortion with each pass. This method works very well on vocal samples, and is great for creating the type of airy pad sounds for which the Fairlight CMI was well‑known.
Although the real‑time effects included with the Turbo board option are a little unadventurous, it is still possible to produce over‑the‑top screeching feedback and gritty digital textures. The first step is to set the internal headroom as low as possible. The setting is in the Master/Global Module, in the Special submenu — set the Output Boost parameter to 0dB and the Headroom parameter to 15dB. You may need to bring up the gain on your desk, but mind your speakers and your ears!
Now you can experiment. If you set the reverb decay time to maximum, it will freeze the sound so you can layer up different pitches. This is excellent for drones — a similar method was used by David Bottrill to create the drones for Peter Gabriel's album Passion. All of the 'B' effects have feedback. For example, setting the delay feedback to maximum gives an interesting digital alternative to the more commonly used analogue feedback. Starting with shorter delay times and increasing to longer ones in real time can also sound good. You can even get feedback without any audio input.
Sample Editing
If you use the looping in the ESI, then it's a good idea to keep a piece of paper handy for jotting down good settings as you experiment, since you can't undo loop‑point changes in the same way as you can audio processing. It's a good idea to keep the sampling rate as high as possible when attempting to find a good loop, as this gives the looping algorithm more possible crossover points to work with. The Loop Compression is best avoided unless you really know what you're doing, because good results rely on a delicate balance between it and the crossfade parameters. Also, as a general point, if you're multisampling, don't bother to trim and loop each sample straight away — map the samples across the keyboard first to check whether you have a useful sound before wasting lots of time editing. In fact, I will often not edit multisampes until I need to put them to work in a track.
If you're planning to loop samples using an editing application on your computer, then be aware that there is a bug with the ESI which will cause the loop to click. However, you can fix this — simply offset the loop start point by two samples, using the sampler preferences of the editor.
It's a good idea to try out the ESI's automatic normalisation and truncation mode, as this is excellent and quick in operation, negating much of the need for a waveform display — the mode can be activated from the Sample Setup section of the Sample Management Module, though the threshold level which is used for the trimming procedure (and for defining zero‑crossings when looping) is hidden away in the Setup section of the Digital Processing Module. Bear in mind, though, that the ESI doesn't retain this setting when you turn it off, so make sure you reset it before trimming your samples, or the default setting may cause attack transients to be lost.
Advanced Programming

The fact that the ESI's system of Zones can have nothing to do with mapping samples across the keyboard allows for a lot of clever programming. For example, you can simulate VCA tracking by setting Zones of different volumes — in fact, you can set any level you like for each Zone, so you can go beyond simple tracking. You can also have Zones with different tunings for creating microtonal scales. The only drawback with the system is that you cannot program Zones using MIDI SysEx messages from a computer‑based editor. You'll need a good memory (or pen and paper) to keep track of your Zone settings. If you design a setting that you like, but which might require further tweaking, copy the Preset to a new location and work on the new one. That way you can go back if you make a mistake.
Many techno producers like to remove a little of the attack from a drum sample to make it harder. The ESI lets you do this dynamically. In the Dynamic Processing Module, option six is Velocity To, and you need to scroll right for Sample Start. Experiment with the settings: negative values go further into the sample with increasing velocity. With some keyboards you might find that, for example, the library guitars loose their attack. This is because of this type of modulation. Try setting the velocity response curve of the keyboard to exponentially increase, so that you get notes of a higher velocity more often. Otherwise, you will have to reduce the percentage of velocity modulation on the ESI, and save the Preset to disk with the new settings.
One aspect of Zones which can cause confusion is the mute grouping. It doesn't help that the explanation of their operation in the manual is rather long‑winded (blathering on about note stealing, which in reality is rarely a problem), and that many of the Emulator III library drum samples allow open and closed hi‑hats to sound simultaneously — not very realistic! Here's how to set open and closed hi‑hats to mute each other. Go to the Dynamic Processing Module again, and press the '0' key for the Select Zone option. Define a Zone including only the closed hi‑hat sample, and then set its Assign Group (in the Dynamic Processing Module's Channel Assignment section) to Mono A. Now define another Zone incorporating the open hi‑hat sample and set it to the same Assign Group. It's as easy as that!
Recording At Higher Sample Rates
An unfortunate limitation of the ESI series is that the output sample rate is fixed at 44.1kHz. This makes it very awkward to digitally record to anything running at 48kHz. The quick and dirty way is to use the analogue outputs — but this is a pity if you bought the Turbo board for its digital interface. The best option is to use a 24‑bit sample‑rate converter, but a good one costs more than an ESI! However, if you're using a MIDI + Audio sequencer, there is a clever workaround which exploits the ESI's distortionless transposition.
Here's how you do it. Set the recorder to clock from the ESI's S/PDIF output, while leaving the sampling rate set to 48kHz. Most ASIO soundcards (with the honourable exception of those made by Digidesign) will let you do this. Detune the whole ESI by 100 cents downwards (from the Master Tune section of the Master/Global Module) and then detune all your Presets downwards by a further 48.8 cents (from the Setup section of the Dynamic Processing Module). Now you can record the sampler performance digitally. Even though it will sound out of tune while you're recording, this is actually dealing with the sample‑rate mismatch. Now you can record your sampled performance, and when you clock the sequencer to its own digital clock again, you should hear the recording playing back at the correct pitch.
Transposing in this way would also work for recording at 96kHz and above — it's just a matter of tuning by ear. The best way is to load a sine wave into the ESI (you can find one on Emu's Production Sound Set sample CD). Record a continuous tone into the sequencer at 96kHz via the analogue outputs. Now clock your soundcard from the Emu as before, and play that note again, tuning it to the soundcard playback.
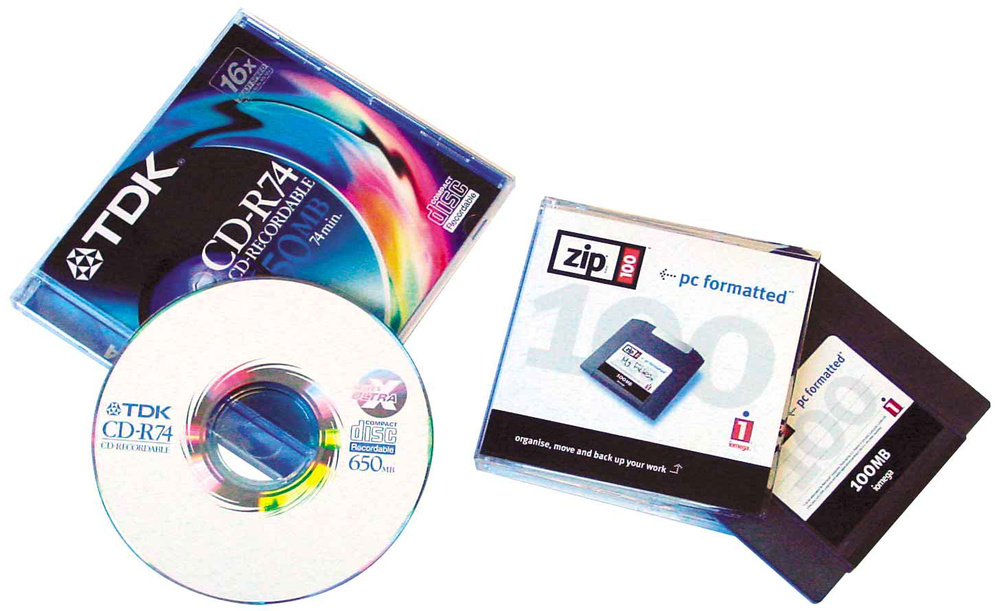
Archiving Your ESI's Zip Disks To CD

Though Zip disks are convenient, I find that they aren't really cost‑effective or reliable enough for long‑term storage. Fortunately, there is a way in which you can burn the contents of your Zip disks to CD, which is much cheaper. You can only burn one Zip to each CD, but that's economical anyway.
If you're using a Mac, you'll need to go to the Extensions Manager. Duplicate the existing set of extensions, calling the new one ESI Copy or something similar. If you now disable the Iomega Driver extension and restart, you can insert a Zip disk into your Mac's SCSI Zip drive without the Finder mounting it to the desktop. Most CD burning software has a SCSI copy feature — in Toast, this is in the Format menu. The program should be able to show you a list of connected active SCSI devices and their names. In Toast, you have to press the Data button and select the Zip drive. You can burn directly to CD from the Zip, or save a disc image to your hard drive first. Note that owners of Toast Titanium will have to upgrade to Toast Pro or downgrade to the Toast v3.5.3 to get the SCSI copy feature.
PC users can use simple utilities such as Disk2File (available from www.zicweb.com) and ESI‑Win (only currently available as a freeware beta version from www.simplydata.ndirect.co.uk/esi‑win) to create ISO disc images of ESI Zip disks, from which CDs can be burnt using your choice of software. However, if you also want to convert files from other sample formats as well, then you could also consider the fully‑featured Chicken Systems' Translator utility — look out for the in‑depth SOS review coming soon.
Getting The Most Out Of The Turbo Effects Board
For live and/or multitimbral use, the best way to use the Turbo board effects is to create empty Presets where only the effects parameters and sends are set up. This way, you can change effects with Program Change messages, and the settings are saved to disk with the Bank. To do this, enter Effects Setup in the Master/Global Module's Effects section and set Multimode Control to the channel you want to use for the effects Presets — I use channel 16. Then get all the Presets to use these effects, by setting Preset Effect A and B to Master Effect in the Effects section of the Preset Definition Module.
Once this is done, you can set output routing on a per‑Zone basis in the Channel Assignment section of the Dynamic Processing Module. It's best to have a system for the separate outs, say drums on Main, Bass on Sub 1 left, lead on Sub 1 right, etc. Even if you don't use separate outputs, you can have a different effect/amount for each Zone of a Preset. For example, for drums you could set the Main reverb send amount to 25 percent, and route snares and toms to Main, while routing the kicks and cymbals to Sub 1, with its reverb amount at zero.
ESI Reviews In SOS
- ESI32 Sampler: January 1995
- ESI4000 Sampler: January 1998
- ESI2000 Sampler: May 2000
Recommended Computer Software For ESI Owners
BIAS PEAK FOR MAC
Probably the best sample editor for the Mac. Good SMDI support, allowing you to transfer multiple samples in one go over MIDI. It has a useful threshold Function (under the DSP menu) which divides the audio into regions according to amplitude. It's useful for splitting up a single file of multisamples into separate files for transfer to the sampler. Recycle is much better at this job though. The latest version supports VST and ASIO, so you can record and process directly in Peak at the highest bit depth your soundcard will allow. The old Premiere plug‑in format is also supported, allowing you to access a whole range of off‑line processes. Finally, there's a batch processor, so you can apply the same processes to any number of files in one go, while you have a coffee.
www.bias‑inc.com
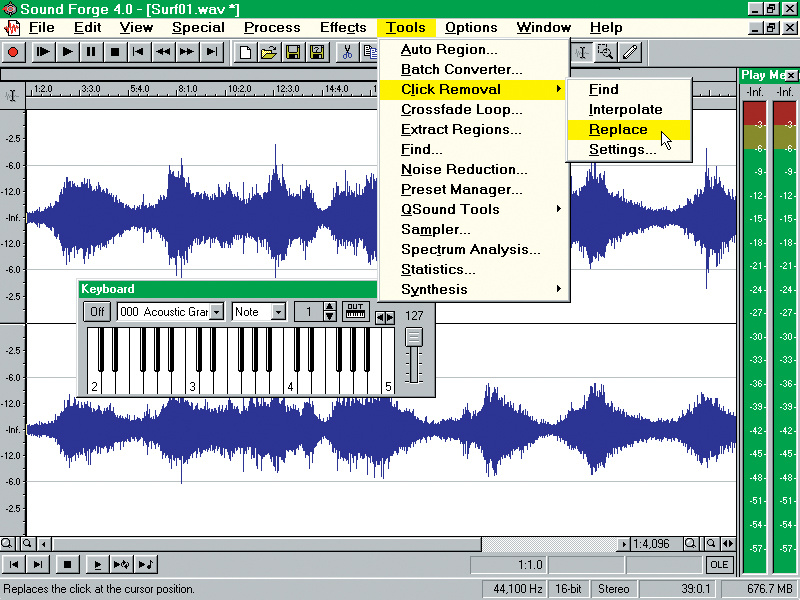
SONIC FOUNDRY SOUND FORGE FOR PC
A fully featured editor with SMDI support, the PC equivalent of Bias Peak. It's bundled with a cut‑down version of Vegas, their audio multitracker. It has a slightly better batch processor than Peak, but can currently only dump one sample at a time. CD burning is also built in.
SYNTRILLIUM COOL EDIT FOR PC
Excellent and very cheap audio editor, which is simple to learn and quick in operation. There's a 'lite' version which, amongst other things, omits DirectX support, but the full version is so cheap it's a must‑have. However, there's no SMDI support.
PROPELLERHEADS RECYCLE FOR MAC & PC
The ultimate groove tool, but it also has a few other tricks up its sleeve. Provides a cheaper alternative to Bias Peak — if you already have a VST‑compatible host, you can use that to process multisamples, and then chop them up in Recycle and SMDI them to your sampler. Very quick and intuitive.
D‑SOUND PRO FOR MAC
This is the cheapest editor which supports SMDI. It has very good processing and effects, but you can't transmit more than one sample at a time.
www.d‑soundpro.com
PROSONIQ SONICWORX FOR MAC
The free 'Artist' version has excellent‑quality sample‑rate conversion and very interesting effects. Uses the hard drive it's running on as the scratch disk — there is no option to use another partition or drive dedicated to audio — so ensure you have enough space for the file size you are working on. The DC offset correction works by adding a corresponding negative offset, which gives much better‑sounding results than the high‑pass filtering used in most editors.
AUDIO EASE BARBABATCH FOR MAC
Dedicated batch processor and converter with comprehensive file format support. Sample rate conversion and normalising with extremely high quality, and very fast.
ANTARES INFINITY FOR MAC
Expensive, but if you do a lot of instrument multisampling, you need this. It only does one thing, but does it really well — seamless looping of any sound. Includes basic processing tools, though there is no Emu SMDI support.
www.antares‑systems.com
GALLERY EMU FILE ASSISTANT & EOS BROWSER FOR MAC
A couple of useful little utilities for organising your Emu sample library.
Diagnostics Mode
If you hit the '0' key in the Special section of the Master Module, you can gain access to a special diagnostics mode. You need to enter a 'magic code', which is 1358. Particularly useful here is the function which allows you to generate a 1kHz or 19kHz sine‑wave tone on all outputs, which is useful for calibrating the input levels on your mixer.
Using SCSI To Transfer ESI Samples To Your Computer
Though SCSI seems about to be superseded by FireWire and USB, the ESI samplers are stuck with it. It's great when it works, but very often getting it to work can be a royal pain, because each manufacturer seems to have their own variation on the standard. For a start, devices have to be chained in a specific order for your system to work at all. The one definite rule is that the ESI needs to be booted up before the computer, and it will have to be the last device in the chain, as it only has one SCSI socket. Apart from what I've mentioned, the manual explains SCSI very well.
The most reliable SCSI card I've found is the Adaptec 2496. This works fine with Mac and PC systems, while other cards can be problematic, particularly SCSI 2 and Ultra Wide types. If you're buying a SCSI card for your computer, I'd suggest bringing computer and ESI to the shop in order to ensure that the SCSI card works before you part with your cash.